One of my design goals with Geoid was for every level to have unique art. Because of this, I had to really streamline the art process early on. I developed several custom Blender addons to simplify the UV-mapping and exporting process, and came up with a few techniques that made creating hundreds of platform meshes a relatively painless process. To date, I have made 601 level-specific meshes (not including meshes for the hub world or game mechanics).

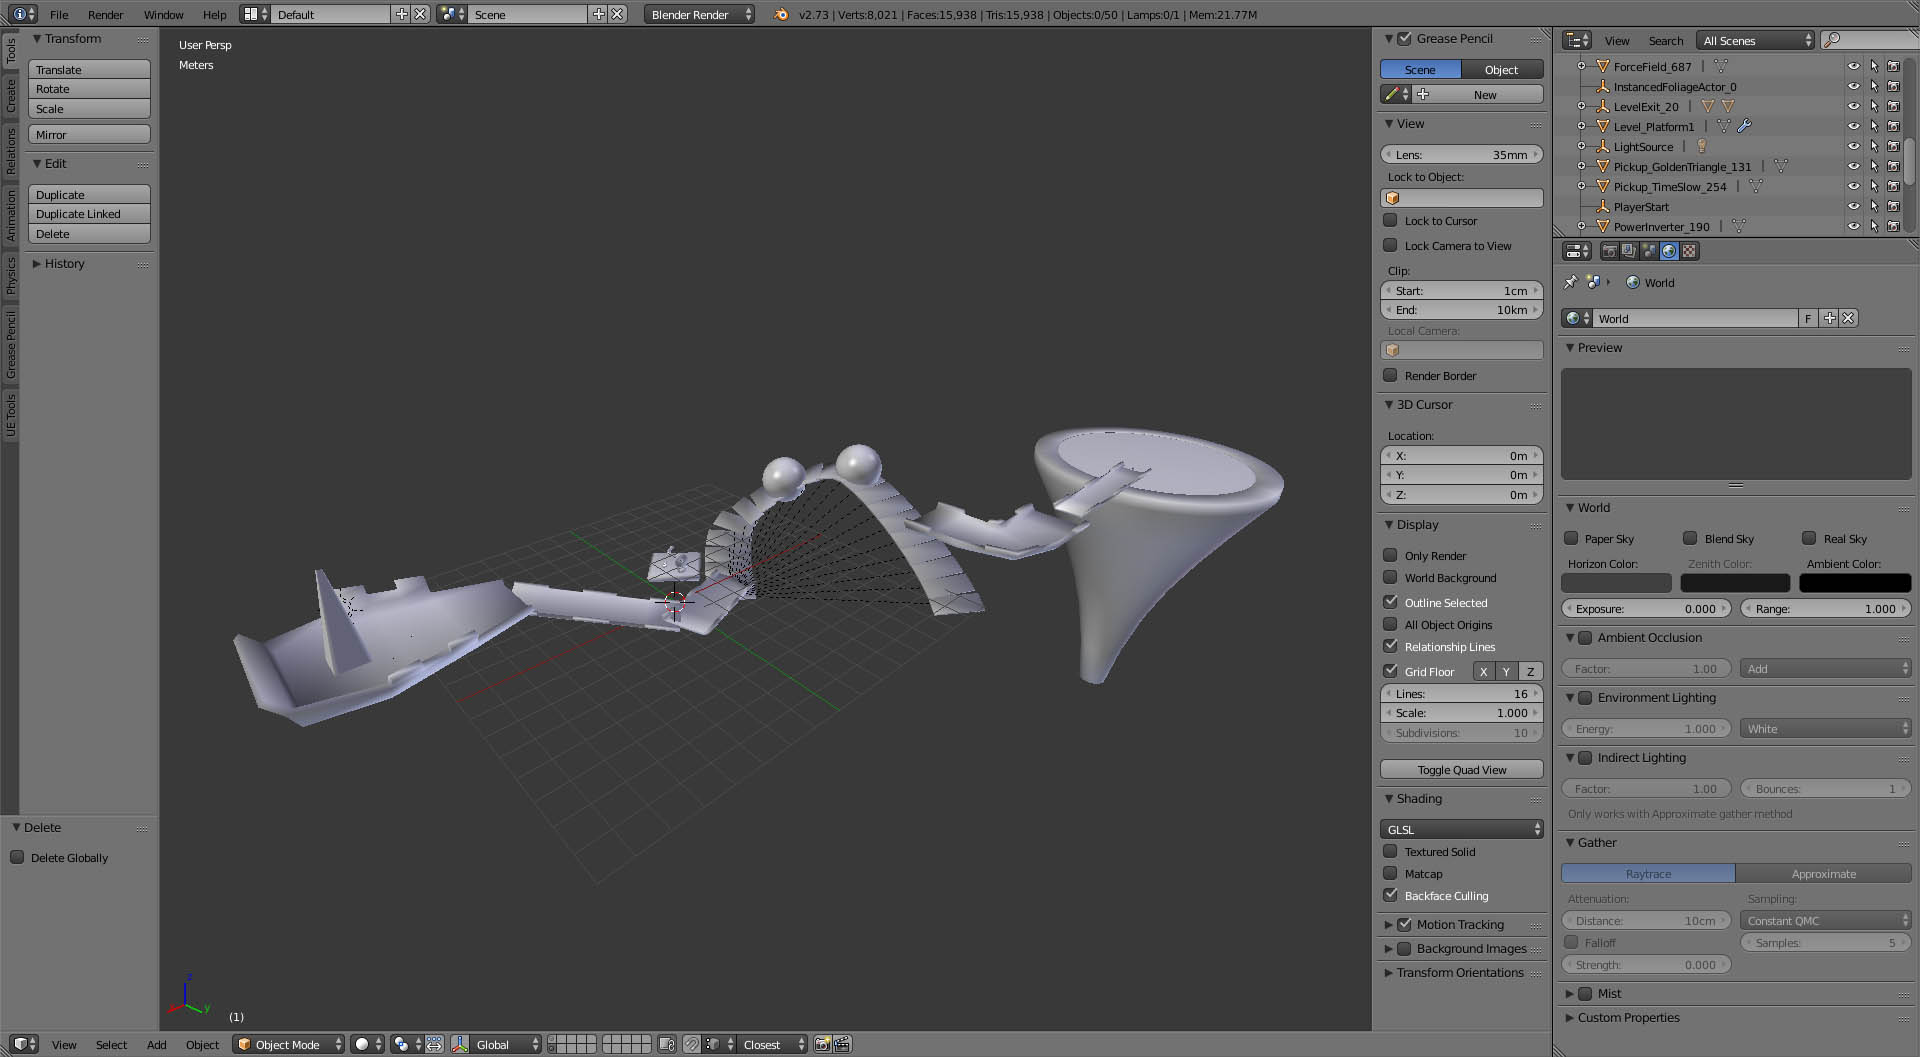
To create these meshes, I first design a level using a selection of prototyping meshes that I created just for this purpose. Here is a short example level that I’ve put together for demonstration purposes:

Here’s how this demo level plays with the placeholder prototyping meshes:
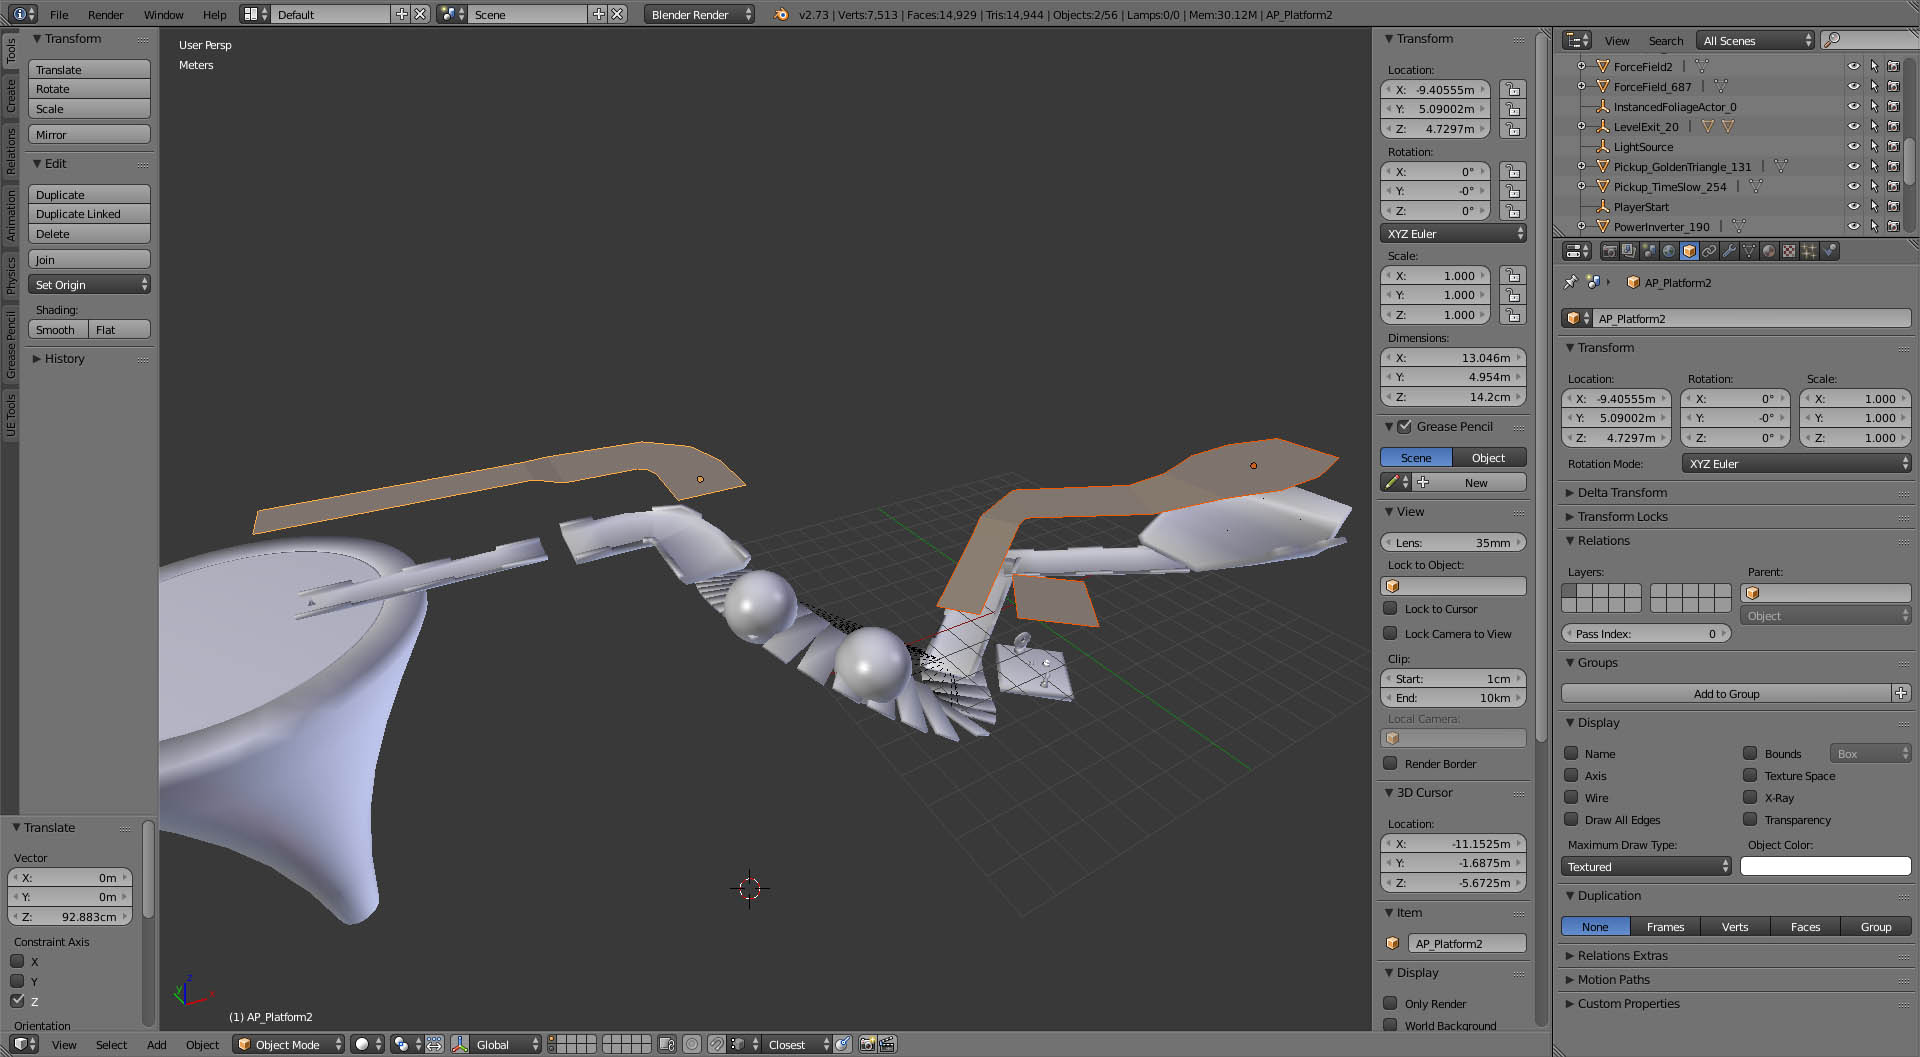
The next step is getting the level structure into Blender so that I can create meshes that fit this level perfectly – ideally these new meshes will be drop-in replacements for the prototype ones. Fortunately, Unreal Engine 4 has a function that exports an entire level’s geometry to an FBX file, which Blender can import.
Now, there’s no point in doing anything with this directly, but now that it’s inside Blender, meshes can be created on top of them that match their scale and shape. I just use simple planes, sometimes combining platforms, sometimes separating them – whatever feels right.
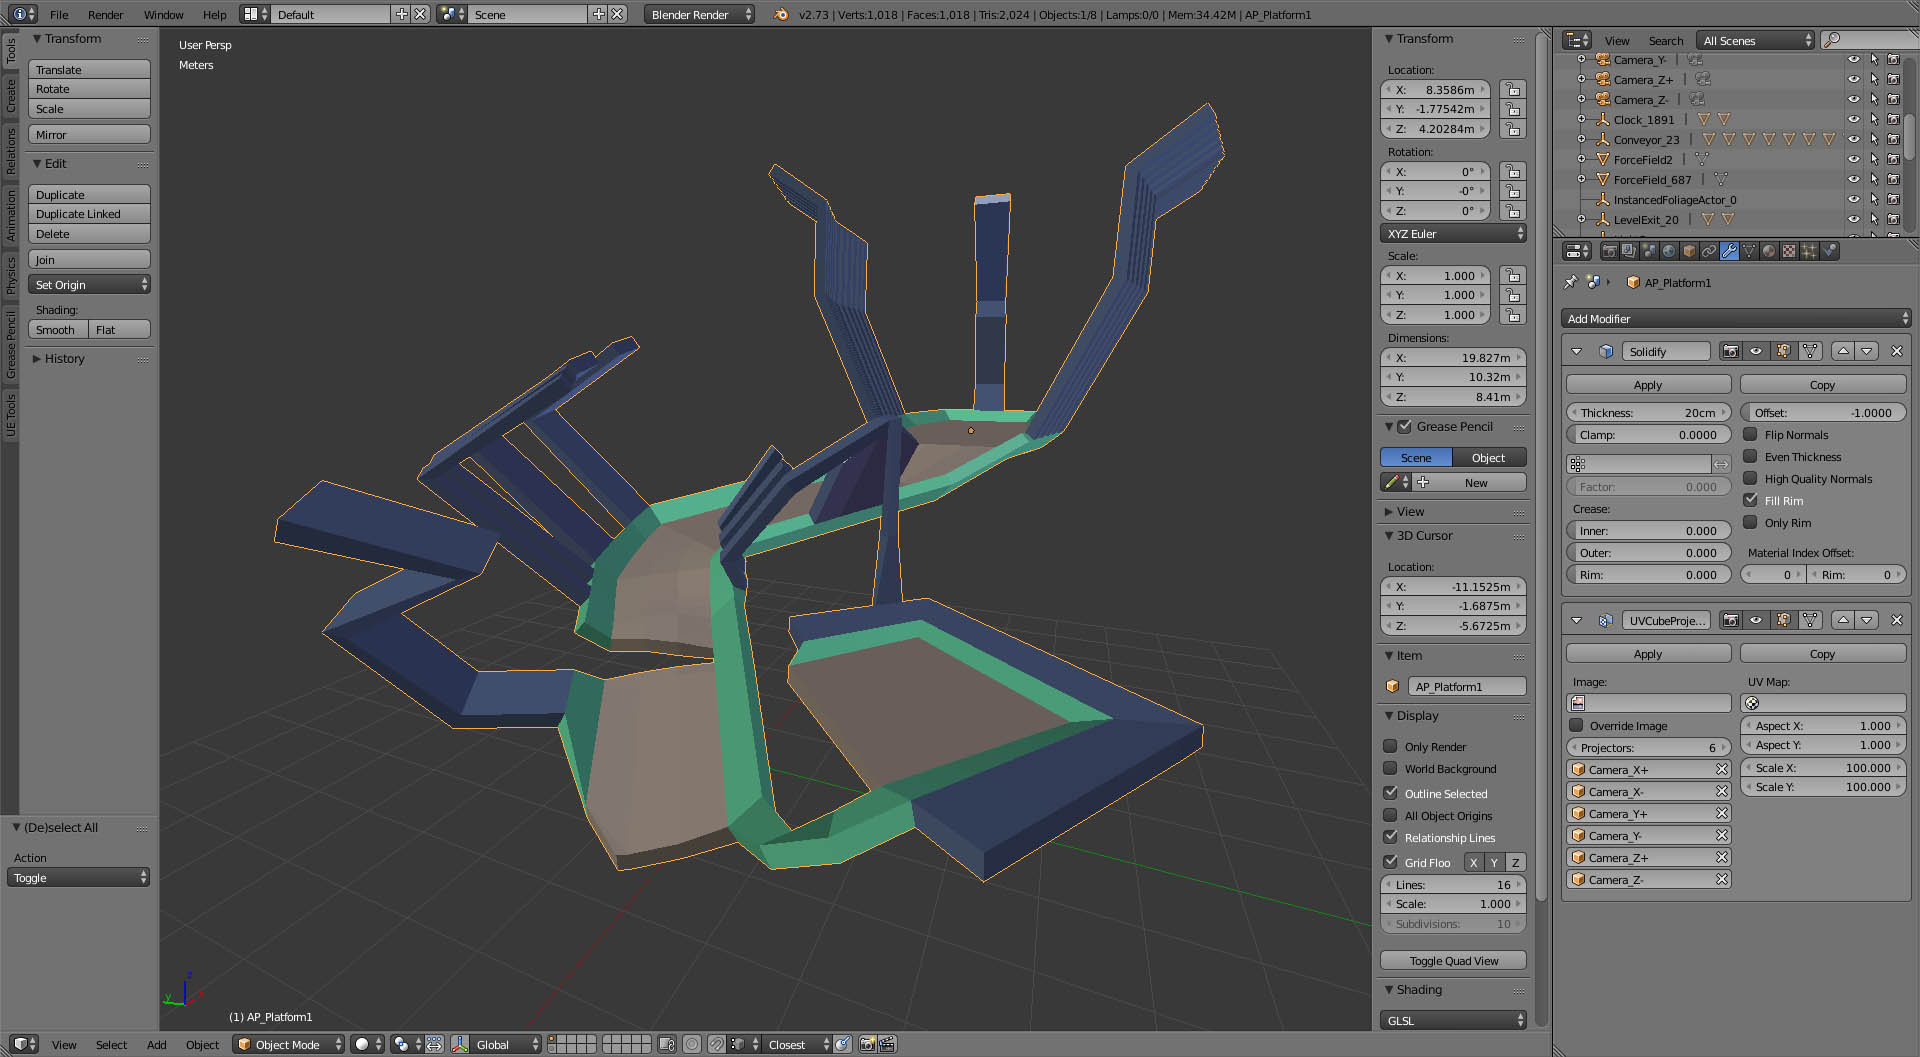
Once I have these simple planes set up at the right shape and scale, I start adding some flair to them, adjusting things like sidewalls and platform width depending on the intended difficulty. I also add extra geometric detail to make the platforms look more interesting. Here’s a time-lapse of this process:
https://www.youtube.com/watch?v=HEbvLu3stJI
Once I feel that the platforms are interesting enough, I use Blender’s solidify modifier to give them some volume:
Then I do the other platforms. Here’s the final Blender file for the level:
 Finally, I import these meshes back into Unreal and tweak any mechanics that need to be adjusted to work with the new meshes. Usually most things work as-is. Here’s a gameplay video with the new meshes imported:
The solidify modifier in Blender really cuts down on the amount of work involved. Because the exporter applies modifiers before exporting, I can keep the platforms as simple planes, which makes it very easy to tweak meshes later for gameplay reasons – adding a hole to a platform for instance, takes longer to import and test than it does to actually make the geometry change. Newer Unreal Engine features such as auto-importing of assets also really speeds up the iteration process.
This isn’t the whole art process – the demo level would still need a proper material setup, as well as lighting and skybox art, but this process, along with the initial step of designing a fun level with the prototyping meshes, has been the most time-consuming part of game development, and also the most rewarding.
Brilliant! Thanks for explaining the process. I love the way your game looks by the way. It would make an excellent multi-platform game.